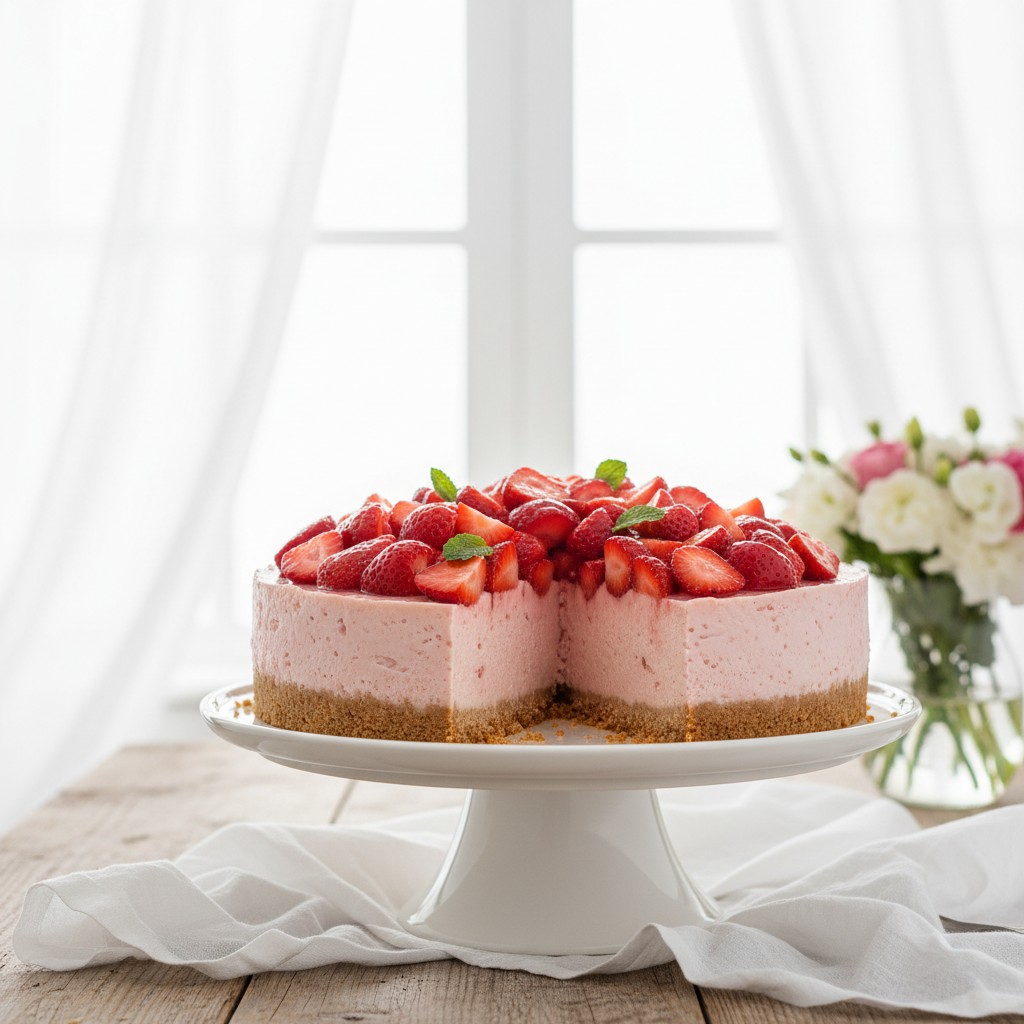
A Classic No-Bake Strawberry Cheesecake
There is something utterly joyful about a classic strawberry cheesecake, especially one that requires no baking. This recipe is a masterclass in achieving a perfect set and a beautifully creamy texture.
Some desserts possess a timeless quality, and a strawberry cheesecake is certainly one of them. It speaks of summer, of garden parties and simple pleasures. But for many, the very word 'cheesecake' can sound a little daunting, bringing to mind fears of cracks, curdling, and a soggy base.
This recipe, however, is designed to banish those fears entirely. It is a no-bake cheesecake, which means the oven can stay firmly off. We rely not on eggs and gentle heat, but on the magic of gelatine and the cold of the refrigerator to achieve a perfectly smooth, creamy, and sliceable filling that holds its shape beautifully.
What I want to give you here is not just a recipe, but a method. A reliable, trustworthy guide that will result in a truly splendid cheesecake every single time. Pay close attention to the small details – they are what make all the difference between a good dessert and a truly great one.
Why You'll Love This Recipe
- Using only full-fat ingredients (cream cheese and double cream) is non-negotiable. It guarantees a rich flavour and a luxuriously smooth texture that lower-fat versions simply cannot replicate.
- A base made with melted butter, not just rubbed in, creates a crisp, firm foundation that slices cleanly without crumbling apart.
- The careful blooming and dissolving of gelatine ensures a perfect, even set without any rubberiness, giving the cheesecake its characteristic yet delicate structure.
Ingredients
- For the base:
- 225g digestive biscuits
- 100g unsalted butter
- For the filling:
- 2 leaves of leaf gelatine (or 1 ½ teaspoons powdered gelatine)
- 450g full-fat cream cheese, at room temperature
- 150g caster sugar
- 1 tsp vanilla extract
- Juice of ½ a lemon
- 275ml double cream
- For the topping:
- 400g fresh, ripe strawberries
- 1 tbsp caster sugar (or to taste)
- A tiny squeeze of lemon juice
Equipment Needed
20cm springform or loose-bottomed cake tin · Food processor or rolling pin and polythene bag · Small saucepan · Large mixing bowl · Electric hand whisk · Spatula or large metal spoon
Step-by-Step Instructions
- Step 1: First, prepare a 20cm loose-bottomed or springform tin. You don't need to grease it, but you can place a circle of baking parchment on the base if you wish, to make transferring it to a plate easier later on.
- Step 2: To make the base, place the digestive biscuits in a strong polythene bag and crush them with a rolling pin until they resemble fine breadcrumbs. Alternatively, you can do this in a food processor. Melt the butter in a small saucepan over a gentle heat, then pour it over the biscuit crumbs and mix thoroughly until every crumb is coated.
- Step 3: Tip the buttery crumbs into your prepared tin. Use the back of a metal spoon to press them down firmly and evenly all over the base and slightly up the sides. Place the tin in the refrigerator to chill and firm up for at least 30 minutes while you prepare the filling.
- Step 4: Now for the filling. If using leaf gelatine, place the leaves in a shallow dish of cold water and leave them to soften for 5 minutes. If using powdered, sprinkle it over 3 tablespoons of cold water in a small bowl and leave it to 'sponge' for the same amount of time.
- Step 5: In a large mixing bowl, beat the room-temperature cream cheese with the caster sugar until smooth and there are no lumps. An electric hand whisk is best for this. Then, beat in the vanilla extract and lemon juice.
- Step 6: To dissolve the gelatine, gently heat the softened leaves (after squeezing out the excess water) or the sponged powder in a small pan with the 3 tablespoons of water. Heat very gently, stirring, until it has completely dissolved into a clear liquid. Crucially, do not let it boil. Set it aside for a moment to cool slightly.
- Step 7: In a separate bowl, whip the double cream until it just holds its shape in soft, floppy peaks. Be careful not to overwhip it.
- Step 8: To incorporate the gelatine without lumps, take a large spoonful of the cream cheese mixture and stir it into the warm gelatine liquid. Then, pour this mixture back into the main bowl of cream cheese, whisking continuously. This 'tempers' the gelatine and prevents it from setting into strands.
- Step 9: Gently fold the whipped cream into the cream cheese mixture using a large metal spoon or spatula until it is evenly combined. Pour the filling over your chilled biscuit base and smooth the top.
- Step 10: Place the cheesecake in the refrigerator to set for at least 4 hours, though overnight is even better. It must be completely firm before you attempt to serve it.
- Step 11: When you are ready to serve, prepare the topping. Hull the strawberries and slice them in half, or into quarters if they are large. Place them in a bowl with the tablespoon of caster sugar and the squeeze of lemon juice, and gently toss to combine. Leave them for 10-15 minutes to macerate; the sugar will draw out the juices to create a light syrup.
- Step 12: Carefully remove the cheesecake from its tin. You can run a palette knife dipped in hot water around the edge to help release it. Pile the fresh strawberries and their juices on top of the cheesecake just before serving.
Delia's Notes from the Kitchen
The success of this cheesecake hinges on a few key details. Firstly, your cream cheese must be at room temperature. If it's cold from the fridge, it will be impossible to beat it into a truly smooth, lump-free consistency. Secondly, treat the gelatine with respect. Don't overheat it, and don't skip the tempering step. It is your guarantee of a perfect set. This is a simple dessert, but it rewards careful, methodical work. The result is pure, unadulterated pleasure on a plate.
How to Store & Reheat
The cheesecake should be stored, covered with cling film or in an airtight container, in the coldest part of the refrigerator. It will keep well for up to 3 days. The texture is best on day two, once the flavours have had time to meld. This dessert is not suitable for freezing as it will spoil the creamy texture.
Frequently Asked Questions
Why didn't my cheesecake set properly?
There are usually two culprits. Either the gelatine wasn't dissolved and incorporated correctly, or the cheesecake wasn't chilled for long enough. It really does need a minimum of 4 hours in a cold refrigerator, and overnight is always safest.
Can I use low-fat cream cheese or cream?
I'm afraid not. This is one recipe where full-fat is absolutely essential. Low-fat versions contain more water and stabilisers, which will result in a looser, sometimes watery filling that lacks the characteristic rich flavour and creamy mouthfeel.
My gelatine went lumpy when I added it. What happened?
This happens when the cool dairy mixture causes the warm gelatine to set instantly into strands. The trick is to 'temper' it, as described in Step 8. By mixing a little of the cool mixture into the warm gelatine first, you bring down its temperature gradually before introducing it to the main bowl.
Can I make this cheesecake ahead of time?
Absolutely. In fact, it's an ideal dessert to make the day before you need it. This allows it to set perfectly and for the flavours to develop. Just keep the strawberry topping separate and prepare that just before serving for maximum freshness.
Can I use frozen strawberries for the topping?
You can, but the texture will be much softer once thawed. If using frozen, allow them to thaw completely, then drain off most of the excess liquid before tossing them with the sugar. For the best flavour and appearance, fresh, in-season strawberries are always my first choice.