The Definitive Seville Orange Marmalade
Capture the fleeting Seville orange season with this quintessential British preserve. Follow my trusted method for a marmalade with a perfect set and deep, tangy flavour.
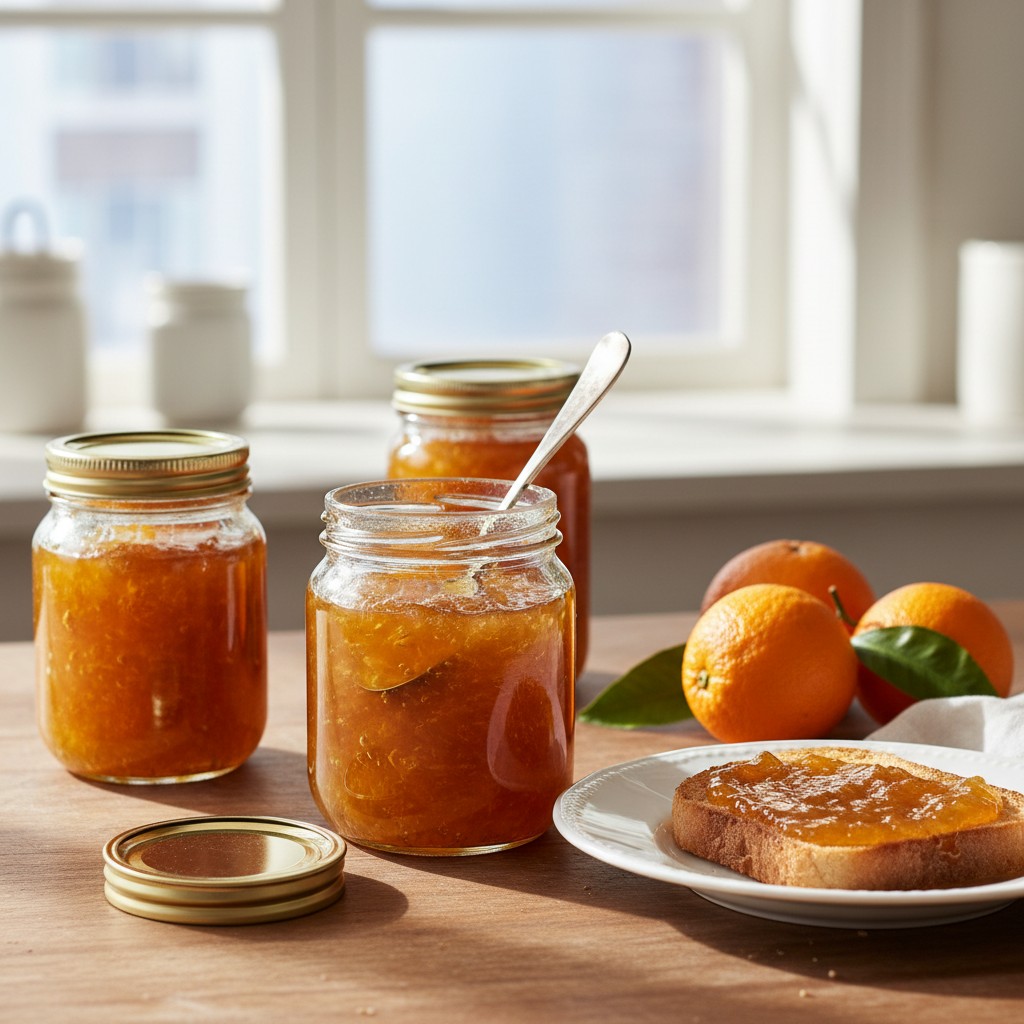
A Masterclass in the Traditional Delia Smith Seville Orange Marmalade Recipe
There are few kitchen rituals as rewarding as crafting a classic Delia Smith Seville Orange Marmalade Recipe. The brief, wonderful season for these bitter, knobbly oranges is a highlight of the British winter, and transforming them into jars of glistening, jewel-toned preserve is a tradition worth upholding. It’s a process that demands a little time and attention, but it is by no means difficult. In fact, it is deeply satisfying.
Many people are daunted by the idea of making marmalade, fearing a runny, disappointing result. But the truth is, with a reliable method and an understanding of the key stages, success is virtually guaranteed. The secret lies in extracting the maximum amount of natural pectin from the fruit and achieving what we call the 'setting point'. Don't worry, I will guide you through this with absolute clarity.
This recipe is the one I have relied upon for decades. It will fill your kitchen with the most incredible aroma and your larder with a preserve that is infinitely superior to anything you can buy. Served on hot, buttered toast, there is simply nothing better for a weekend breakfast. So, let’s begin.
Why You'll Love This Recipe
- Using whole fruit, including pips and pith tied in muslin, ensures maximum natural pectin is extracted for a perfect set without commercial additives.
- A long, slow initial simmer is crucial for softening the peel completely before the sugar is added, resulting in a tender, not chewy, shred.
- Warming the sugar before adding it to the pan helps it dissolve quickly and prevents the temperature from dropping, which reduces the risk of crystallisation and ensures a clear, bright marmalade.
Ingredients
- 1.4kg Seville oranges
- 2 large lemons
- 2.5 litres cold water
- 2.6kg preserving sugar
Equipment Needed
Large preserving pan (or a very large, heavy-based saucepan) · Sharp knife · Chopping board · Lemon squeezer · Sieve · Muslin square (about 30cm x 30cm) and kitchen string · Long-handled wooden spoon · Jam jars with lids (6-7 medium) · Jam funnel (recommended) · Ladle · Small saucer (for testing the set)
Step-by-Step Instructions
- First, scrub the oranges and lemons thoroughly. Cut them in half and squeeze out all the juice, collecting it in your large preserving pan or a heavy-based stockpot. It's a good idea to strain this juice through a sieve to catch any pips.
- Now, set the pips aside. Using a spoon, scoop out all the pith and inner membranes from the orange and lemon halves. Place this, along with the pips you collected, onto a large square of muslin. Tie it up securely with kitchen string to make a small, tight bag.
- Next, deal with the peel. You can slice it as thinly or thickly as you prefer. A very sharp knife is essential here. Once all the peel is shredded, add it to the juice in the preserving pan.
- Drop the muslin bag into the pan, tying the long end of the string to the pan handle so it's easy to retrieve later. Pour in the 2.5 litres of cold water.
- Bring the pan to a simmer over a medium heat. Once simmering, reduce the heat to very low, cover the pan with a lid, and let it gently poach for about 2 hours. The aim here is to make the peel completely soft and tender. You can test this by pressing a piece of peel against the side of the pan with a wooden spoon; it should squash easily.
- While the peel is simmering, prepare your sugar and jars. Place the sugar in a large, ovenproof bowl and warm it in a low oven (around 100°C) for 15 minutes. This helps it dissolve faster. Sterilise your jam jars and lids by washing them in hot, soapy water, rinsing well, and then placing them in the same low oven for at least 15 minutes until completely dry.
- Once the peel is soft, remove the pan from the heat. Carefully lift out the muslin bag, allowing it to cool on a plate for a few minutes. Then, using your hands (it's a bit messy!), squeeze every last drop of the precious, jelly-like pectin from the bag back into the pan. This is vital for the set. Discard the bag.
- Add the warmed sugar to the pan and stir over a low heat until every single crystal has dissolved completely. This is another crucial step; be patient and feel the bottom of the pan with your wooden spoon to check for grittiness. If you boil the mixture before the sugar is dissolved, the marmalade will be grainy.
- Once the sugar is dissolved, turn the heat up high and bring the marmalade to a rapid, rolling boil. Do not stir. Boil hard for 15-25 minutes. To test for a set, place a small saucer in the freezer when you begin boiling. After 15 minutes, remove the pan from the heat, take your cold saucer from the freezer, and spoon a small drop of marmalade onto it. Leave it for a minute, then push it with your finger. If it wrinkles and holds its shape, the setting point has been reached.
- If it's still liquid, return the pan to the heat and boil for another 5 minutes, then test again. Repeat until the setting point is achieved. Be careful not to over-boil, as this can result in a dark, toffee-like marmalade.
- Once set, remove the pan from the heat and skim off any scum from the surface with a slotted spoon. Leave the marmalade to stand in the pan for 20 minutes. This allows the peel to settle and ensures it will be evenly distributed in the jars, not just floating at the top.
- Carefully ladle the hot marmalade into your warm, sterilised jars using a funnel. Fill them right to the brim. Seal immediately with sterilised lids. The marmalade will thicken further as it cools. Store in a cool, dark place.
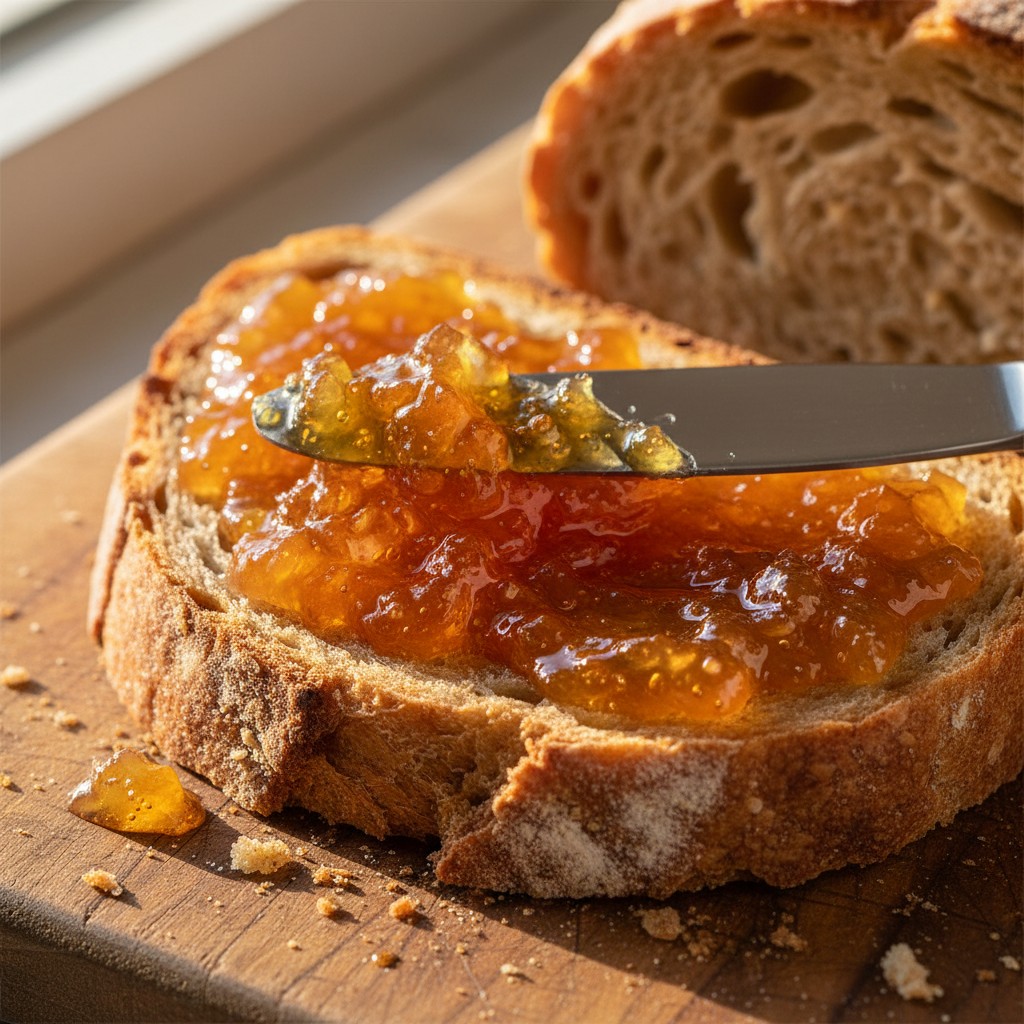
Delia's Notes from the Kitchen
The most important secret to success with any preserve is patience. Do not rush the stages. Ensure the peel is truly soft before you add the sugar. Ensure the sugar is truly dissolved before you boil. And trust the wrinkle test on the cold saucer – it has never let me down. That small, visible crinkle is your guarantee of a perfectly set marmalade.
How to Store & Reheat
Once sealed, the marmalade will keep in a cool, dark place (like a larder or cupboard) for at least a year. The flavour will even mature and deepen over time. Once a jar is opened, it must be stored in the refrigerator and will be best consumed within 4-6 weeks.
Frequently Asked Questions
Why is my marmalade runny and hasn't set?
This is the most common problem and usually has two causes. Either you didn't boil it for long enough to reach the setting point (104.5°C), or you didn't extract enough pectin from the pips and pith. Next time, be sure to squeeze the muslin bag very thoroughly and test for a set using the cold saucer method until you see a definite wrinkle.
Can I use regular sweet oranges instead of Seville oranges?
You can, but it will not be a traditional marmalade. Sweet oranges have much less of the bitter flavour and, crucially, lower levels of pectin. You would need to add commercial pectin or a great deal more lemon to have any chance of it setting, and the flavour will be more like a sweet orange jam.
What is a preserving pan and do I really need one?
A preserving pan is a large, wide, heavy-based pan, often made of stainless steel or aluminium. Its width provides a large surface area, which helps with evaporation and achieving a set more quickly. While you don't strictly need one, a very large, wide, heavy-bottomed stockpot is the minimum requirement. An ordinary saucepan is usually too small and narrow.
How do I know if my jars are properly sterilised?
The oven method is very reliable. After washing and rinsing, place the wet jars and lids on a baking tray in an oven preheated to 140°C (120°C Fan) for at least 15 minutes. The jars must be completely dry when you remove them. It's best to pot the marmalade while the jars are still warm.
My marmalade is very dark and tastes of toffee. What went wrong?
This means the sugar has caramelised, which happens if the marmalade is boiled for too long while trying to reach a set. It can also happen if the sugar catches on the bottom of the pan. This is why a heavy-based pan is so important, and why it's best to start testing for a set after 15 minutes of hard boiling.