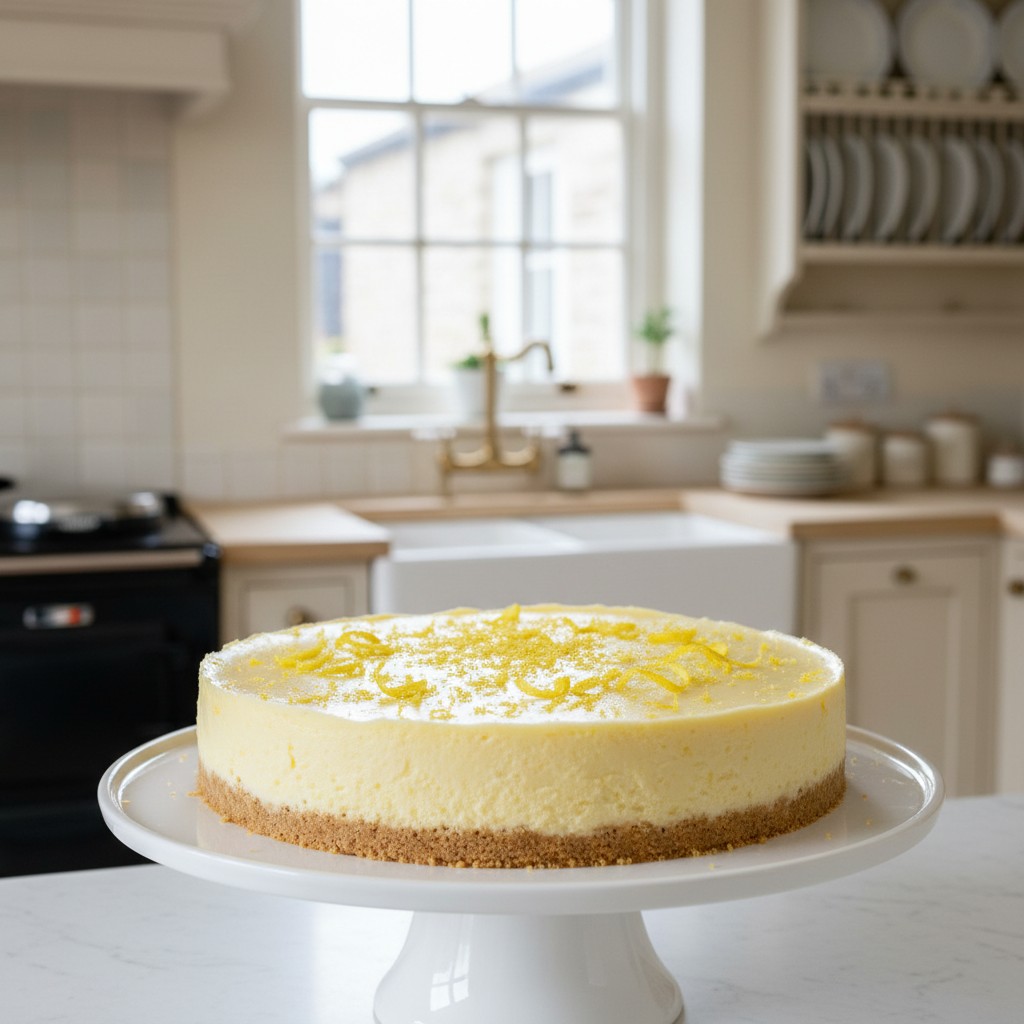
A Truly Reliable No-Bake Lemon Cheesecake
This is, quite simply, the definitive recipe for a no-bake lemon cheesecake. It’s creamy, zesty, and built on a perfectly crunchy biscuit base—a truly reliable classic for any occasion.
There are times when the thought of turning on the oven feels like a step too far, and for those moments, a no-bake cheesecake is a true godsend. It’s a dessert that speaks of summer afternoons and effortless entertaining, yet it possesses an elegance that makes it welcome at any time of year. The beauty of this dessert is its simplicity, but simplicity should never be mistaken for a lack of quality.
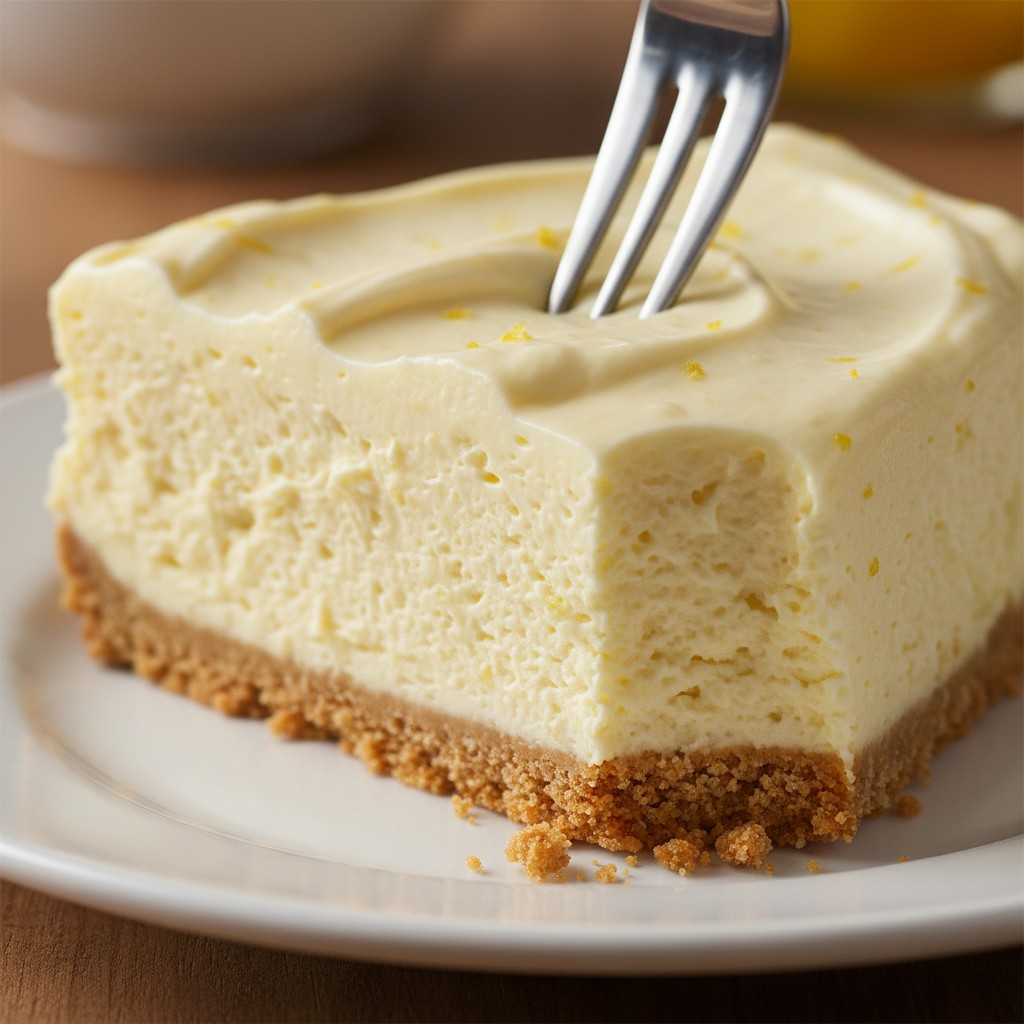
To achieve the perfect balance is a matter of chemistry. The base must be a study in texture – crunchy and firm, but not so hard it resists the fork. The filling is a delicate act, balancing the rich, tangy cream cheese with the bright, sharp voice of fresh lemon, all brought together into a silken, creamy consistency that holds its shape beautifully. It's not about throwing ingredients together; it's about understanding how they work in harmony.
This recipe is the result of much testing and is, I believe, the most reliable method to achieve a perfect result every single time. There are no secret tricks here, just good ingredients and a clear, precise method. Follow the steps, trust the process, and you will have a dessert that you can serve with absolute confidence, knowing it will be exactly right.
Why You'll Love This Recipe
- The precise ratio of butter to biscuit creates a base that cuts cleanly without crumbling, providing the perfect structural foundation.
- Using full-fat cream cheese and double cream is non-negotiable; their low water and high fat content ensure a firm, creamy set without any iciness.
- Gently dissolving the gelatine in hot water before adding it to the cool mixture prevents lumps and guarantees a smooth, even texture throughout the filling.
- Chilling the base before adding the filling helps it to firm up, preventing the two layers from merging and ensuring a distinct, professional finish.
Ingredients
- 225g (8oz) digestive biscuits
- 100g (4oz) unsalted butter
- 2 level teaspoons powdered gelatine
- 3 tablespoons boiling water
- 450g (1lb) full-fat cream cheese (Philadelphia is excellent), at room temperature
- 2 large, unwaxed lemons
- 150g (5oz) icing sugar, sifted
- 284ml carton double cream
Equipment Needed
20cm (8-inch) loose-bottomed or springform cake tin · Food processor or a large plastic bag and rolling pin · Small saucepan · Large mixing bowl · Electric hand whisk · Spatula · Fine grater or zester · Small heatproof bowl
Step-by-Step Instructions
- First, prepare your tin. You will need a 20cm (8-inch) loose-bottomed or springform tin. Lightly grease the base and sides.
- To make the base, place the digestive biscuits into a food processor and pulse until they form fine crumbs. Alternatively, place them in a strong plastic bag, seal it, and crush them with a rolling pin. Melt the butter in a small saucepan over a low heat, then pour it over the biscuit crumbs and mix thoroughly until all the crumbs are coated.
- Tip the buttery crumbs into the prepared tin. Using the back of a metal spoon or the base of a glass, press the mixture firmly and evenly onto the base of the tin. Place it in the refrigerator to chill and firm up while you prepare the filling.
- Now for the filling. Sprinkle the powdered gelatine into a small heatproof bowl or cup, add the 3 tablespoons of boiling water, and stir immediately until the gelatine has completely dissolved. Set aside to cool for a few minutes.
- In a large mixing bowl, beat the room-temperature cream cheese with an electric hand whisk until it is smooth and free of lumps. Finely grate the zest from both lemons directly into the bowl, then squeeze the juice from them and add it to the cooled gelatine mixture. Sift the icing sugar into the cream cheese and beat again to combine.
- Pour the lemon juice and gelatine mixture into the cream cheese, beating continuously on a low speed until it is just combined.
- In a separate bowl, whip the double cream until it holds soft peaks. Be careful not to over-whip. Using a large metal spoon or spatula, gently fold the whipped cream into the cream cheese mixture in two stages, being careful to preserve as much air as possible. The final mixture should be smooth and light.
- Remove the chilled base from the refrigerator. Pour the filling over the base and spread it out evenly, smoothing the top with your spatula. Return the cheesecake to the refrigerator and leave it to set for at least 4 hours, or preferably overnight.
- To serve, carefully run a thin, sharp knife around the edge of the tin before releasing the springform or pushing up the loose base. Serve chilled, decorated with a little extra lemon zest or thin slices of lemon if you wish.
Delia's Notes from the Kitchen
The secret to a truly spectacular no-bake cheesecake lies not in any fancy trick, but in the quality of your ingredients and your attention to detail. Use full-fat everything, the zest of unwaxed lemons, and give it the proper time to chill. Patience is the final ingredient, and it will reward you with a dessert that is, quite simply, perfect.
How to Store & Reheat
The cheesecake should be stored, well-covered, in the refrigerator and will keep beautifully for up to 3 days. It is not suitable for freezing as the texture will be spoiled upon thawing. It is best served chilled, directly from the fridge, for the perfect firm texture.
Frequently Asked Questions
Why didn't my cheesecake set properly?
This is almost always due to one of three things: using low-fat cream cheese or cream, which have too much water; not allowing enough chilling time (overnight is always best); or the gelatine not being correctly dissolved and incorporated. Following the method precisely with the correct ingredients is key.
Can I make this without gelatine?
For the specific texture and reliable set of this classic recipe, gelatine is necessary. You can use vegetarian gelatine substitutes, but you must follow the packet instructions carefully as they vary. Without a setting agent, the filling will be much softer, more like a mousse, and will not slice cleanly.
My biscuit base was too hard to cut. What went wrong?
This usually happens if the base has been pressed down with too much force, compacting it into a solid mass. It needs to be firm, but not overly compressed. Also, ensure you use the correct butter-to-biscuit ratio; too little butter can make it crumbly, but too much can make it greasy.
Can I use bottled lemon juice instead of fresh?
I strongly advise against it. The flavour of a fresh lemon is bright, aromatic, and complex, which is essential for this dessert. Bottled juice is often harsh and one-dimensional, and you would also miss out on the vital oils contained in the fresh zest.
What's the best way to get a clean slice?
The secret to a perfect slice is a hot, clean knife. Fill a tall jug with hot water. Dip a long, sharp knife into the water, wipe it dry with a clean cloth, and then make your cut. Repeat this process for every single slice. It warms the blade just enough to glide through the cheesecake without dragging.