How to Roast a Chicken
There is nothing quite so wonderful as a perfectly roasted chicken, emerging from the oven golden and glistening. This is my definitive, foolproof method for achieving just that, every single time.
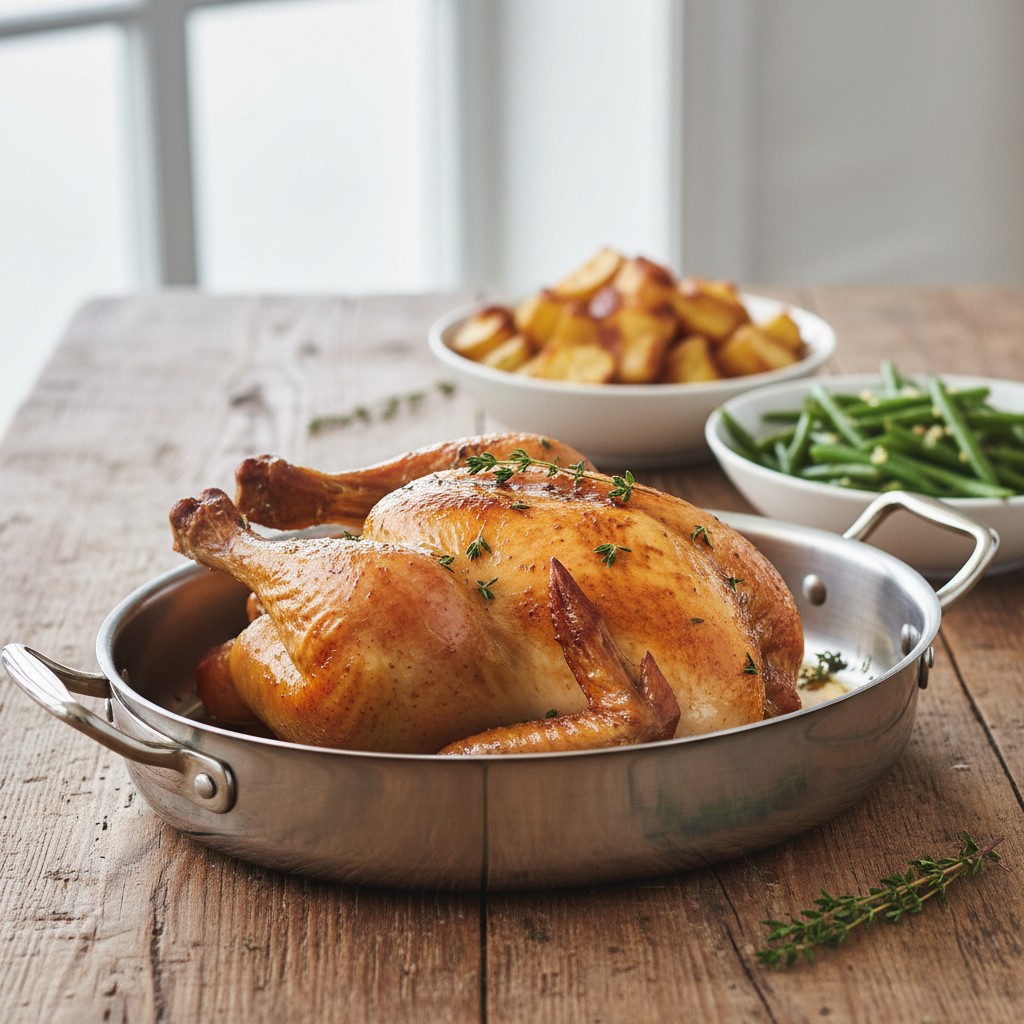
The art of roasting a chicken is one of the most fundamental skills in any home cook's repertoire. It is more than just a meal; it's the very centrepiece of a traditional Sunday lunch, a symbol of warmth, comfort, and generosity. Getting it just right – with succulent, juicy meat and that all-important crisp, golden skin – is a moment of pure kitchen alchemy and something that brings enormous satisfaction.
Too often, however, the home-cooked roast chicken can be a source of anxiety. The fear of undercooking it, the disappointment of dry breast meat, or the tragedy of pale, flabby skin are all common pitfalls. But it absolutely doesn't have to be this way. The secret lies not in complicated techniques or constant, fussy basting, but in understanding a few key principles and following them with precision.
This method is the one I have relied upon for decades. It is straightforward, utterly reliable, and designed to give you a perfect result with the minimum of fuss, so you can feel confident and in control. Once you master this, you'll never look back, and the perfect roast chicken will be yours to command.
Why You'll Love This Recipe
- A two-temperature cooking method ensures the skin becomes incredibly crisp at the start, before the oven is turned down to gently and evenly cook the meat through, keeping it moist.
- Placing seasoned butter directly under the skin of the breast acts as an internal baster, flavouring and protecting the delicate white meat from drying out.
- A crucial, non-negotiable resting period allows the juices, which have been driven to the centre of the bird during cooking, to redistribute throughout the meat, resulting in a far more succulent and tender carve.
Ingredients
- 1 x 1.5-1.8kg (3lb 5oz-4lb) high-welfare, free-range chicken
- 50g (2oz) softened butter
- 1 lemon
- A few sprigs of fresh thyme or rosemary
- Sea salt and freshly milled black pepper
- 1 medium onion, peeled and halved (optional)
Equipment Needed
A good quality roasting tin · Kitchen paper · A small bowl · A skewer or small sharp knife · A carving board and knife · Aluminium foil
Step-by-Step Instructions
- First, take the chicken out of the refrigerator about an hour before you intend to cook it, to allow it to come up to room temperature. This is very important for even cooking. Preheat your oven to its highest setting – 220°C (425°F), Fan 200°C, Gas Mark 7.
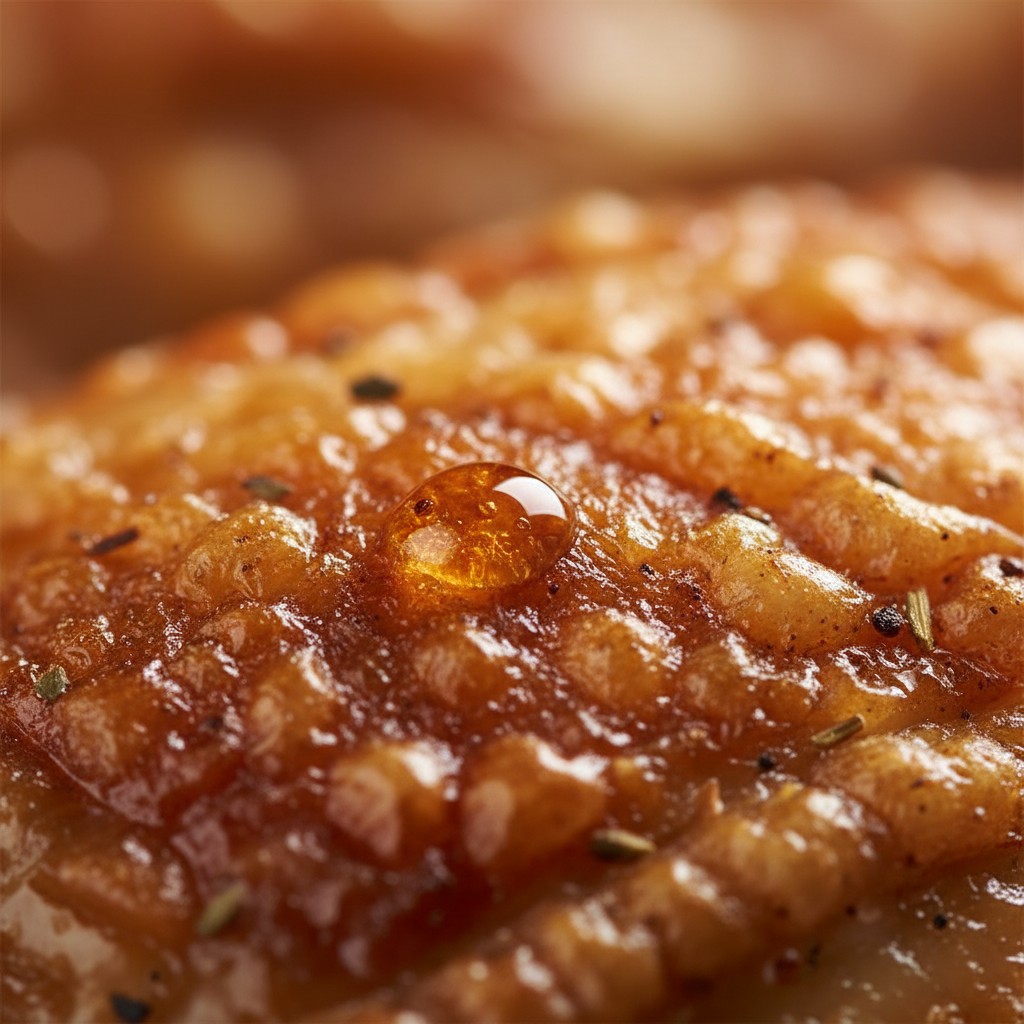
- Prepare the chicken. Untruss it if it has been tied by the butcher, and remove any giblets from the cavity (you can save these for making stock). Pat the entire surface of the chicken, inside and out, with kitchen paper until it is completely dry. This is key to achieving crispy skin.
- Season the cavity of the chicken generously with salt and pepper. Prick the lemon all over with a fork (this helps it release its aromatic steam) and place it inside the cavity along with the sprigs of thyme and the halved onion, if using.
- Now, for the butter. In a small bowl, mix the softened butter with 1 teaspoon of sea salt and a good grinding of black pepper. Gently ease your fingers between the skin and the breast meat of the chicken, creating a pocket. Be careful not to tear the skin. Push the seasoned butter into this pocket and spread it as evenly as you can over the surface of the breast meat.
- Place the chicken in a roasting tin that is not too much larger than the bird itself. Rub any remaining butter over the outside of the legs. Season the outside of the chicken all over with a little more salt.
- Place the roasting tin in the centre of the preheated oven. Roast for 15 minutes at the high temperature. Then, immediately turn the oven down to 180°C (350°F), Fan 160°C, Gas Mark 4. Continue to roast for a further 1 hour to 1 hour 20 minutes.
- To check if it is cooked, pierce the thickest part of the thigh with a skewer. The juices should run clear, with no trace of pink. If they are pink, return the chicken to the oven for another 10-15 minutes and test again.
- Once cooked, transfer the chicken to a warm carving board. This next step is vital: cover it loosely with foil and leave it to rest for at least 15-20 minutes before carving. This allows the meat to relax and reabsorb its juices. Use the roasting tin with its precious juices to make your gravy.
Delia's Notes from the Kitchen
One of my most important success secrets is to always bring the chicken to room temperature before it goes anywhere near the oven. A chilled bird will cook unevenly, with the outside cooking far quicker than the inside. Taking that extra hour at the beginning is a small step that pays enormous dividends in the final result. There is immense satisfaction in presenting a perfectly roasted, golden chicken to the table – a true kitchen triumph.
How to Store & Reheat
Allow any leftover chicken to cool completely, then strip the meat from the bones. Store the meat in an airtight container or wrapped well in foil in the refrigerator for up to 3 days. Leftover chicken is wonderful cold in sandwiches or salads. To reheat, it's best to add the cold meat to a hot sauce or gravy and allow it to warm through gently; reheating it on its own in an oven or microwave can make it dry.
Frequently Asked Questions
Is it absolutely necessary to rest the chicken?
Yes, it is the most important step for juicy meat. During roasting, the juices are forced to the centre of the bird. Resting allows those juices to redistribute evenly throughout the meat, ensuring every slice is moist and tender. If you carve it immediately, the juices will simply run out onto the board.
How can I guarantee extra crispy skin?
The two most important factors are a very dry surface and high initial heat. Always pat the chicken skin thoroughly with kitchen paper before you begin. The initial 15-minute blast at a high temperature is what starts the crisping process. Avoid opening the oven door too often.
Should I stuff the main cavity of the chicken?
I strongly advise against it. Stuffing the main cavity slows down the cooking, meaning that by the time the stuffing is cooked through, the breast meat is often overcooked and dry. It's far better to cook your stuffing separately in its own dish.
What size chicken should I buy for my family?
As a general guide, a 1.5kg (3.3lb) chicken will serve 4 people, while a 1.8kg-2kg (4-4.5lb) bird is better for 4-6 people with potential for leftovers. Always choose the best quality, free-range chicken you can afford; the flavour is incomparable.
My chicken juices are still pink, what should I do?
Don't panic. It simply means it needs a little more time. Cover the breast meat with a piece of foil to prevent it from over-browning and return the chicken to the oven for another 10-15 minutes before testing again. Ovens vary, so learning to trust the visual cue of clear juices is key.