Classic British Fairy Cakes
These delightful little cakes are the epitome of simple, classic British baking. My method ensures they are perfectly light and fluffy every single time.
The Enduring Charm of the Delia Smith Fairy Cakes Recipe
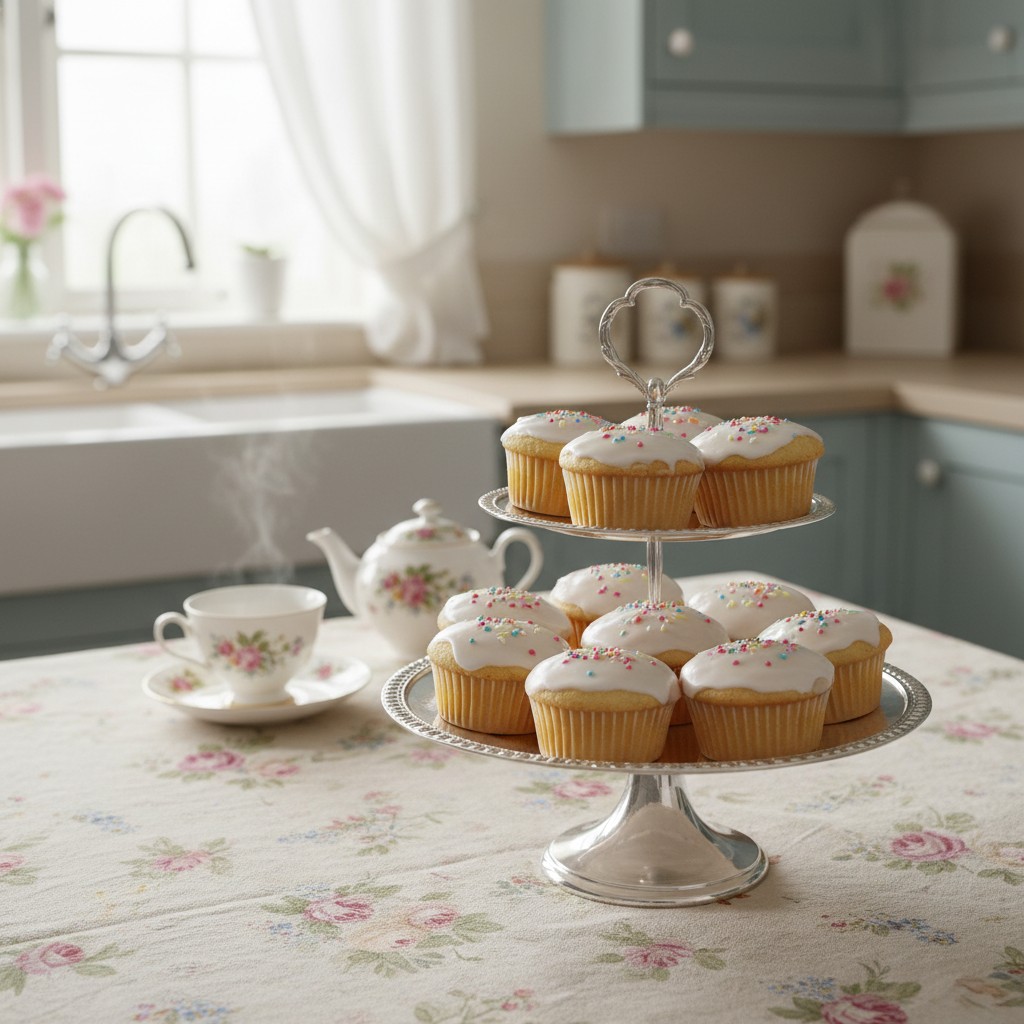
There is something so utterly charming about a classic Delia Smith Fairy Cakes Recipe, a true taste of childhood. These are not the towering, over-iced creations from America we now call cupcakes. No, fairy cakes are altogether more delicate, more modest, and, I think, more lovely. They are the first thing many of us learn to bake, standing on a stool in the kitchen, carefully measuring and mixing under a watchful eye.
The beauty of a fairy cake lies in its simplicity. It requires no special equipment, no complicated techniques, just good, honest ingredients treated with a little bit of care. The result is a wonderfully light, golden sponge, crowned with a simple slick of water icing and, if you're feeling festive, a few sprinkles. They are the perfect accompaniment to a cup of tea and a moment of quiet contemplation.
My method is designed to be as straightforward as possible, what we call the 'all-in-one' method. It is practically foolproof and guarantees a perfect, even rise and a tender crumb. So, let's get our aprons on and bring a little bit of that simple, nostalgic magic back into our kitchens.
Why You'll Love This Recipe
- The 'all-in-one' method is incredibly quick and reliable, minimising the risk of over-mixing and ensuring a light, tender crumb.
- Using self-raising flour provides a consistent and dependable rise, taking the guesswork out of leavening.
- Baking at a precise, moderate temperature ensures the cakes cook evenly without browning too quickly on the outside.
- The simple glacé icing is traditional and allows the delicate flavour of the sponge to shine through.
Ingredients
- 110g self-raising flour, sieved
- 110g caster sugar
- 110g very soft butter, or soft margarine at room temperature
- 2 large eggs, at room temperature
- 1-2 tablespoons milk
- For the Icing:
- 175g icing sugar, sieved
- 2-3 tablespoons warm water
- A few drops of food colouring (optional)
- Coloured sugar strands or sprinkles, to decorate
Equipment Needed
12-hole bun tin · 12 paper fairy cake cases · Large mixing bowl · Electric hand whisk (or a wooden spoon and some elbow grease) · Sieve · Dessert spoon · Wire cooling rack
Step-by-Step Instructions
- First of all, pre-heat the oven to 180°C (160°C for fan-assisted ovens), Gas Mark 4. Then place 12 paper fairy cake cases into a 12-hole bun tin.
- Now for the all-in-one method. Simply place all the cake ingredients – the sieved flour, sugar, soft butter or margarine, and eggs – into a large mixing bowl. Do not add the milk just yet.
- Using an electric hand whisk, begin to mix on a slow speed to combine everything, then increase the speed and whisk for about 1 minute until you have a smooth, well-combined batter. Be careful not to over-mix; stop as soon as everything is incorporated.
- Assess the consistency. The mixture should drop easily from the spoon when tapped. If it feels a little stiff, add the milk, one tablespoon at a time, until you reach this 'dropping consistency'.
- Carefully spoon the mixture into the paper cases, dividing it as evenly as possible between them. A dessert spoon is the perfect tool for this.
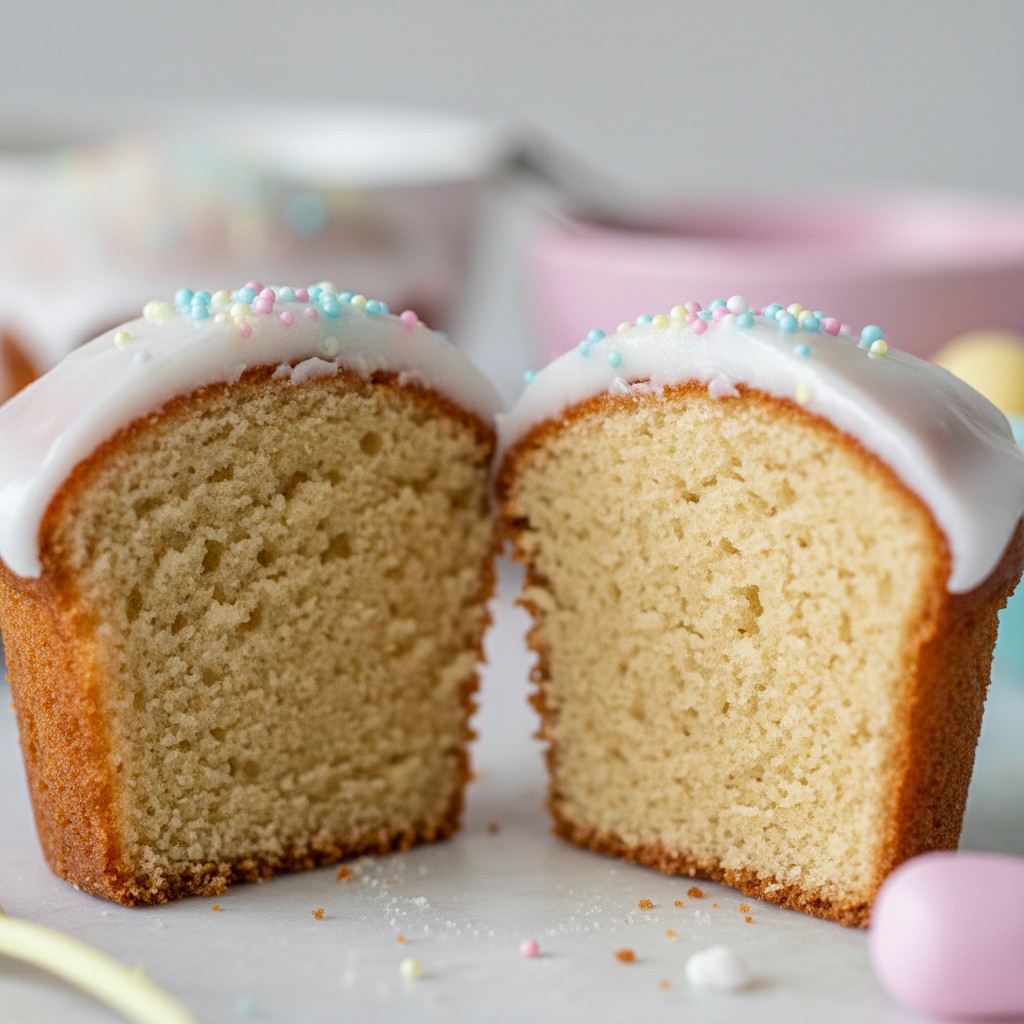
- Place the tin on the centre shelf of the pre-heated oven and bake for 12-15 minutes. To check they are cooked, they should be well-risen, golden brown, and spring back when you press the tops lightly with a fingertip.
- Once baked, remove the tin from the oven and leave the cakes to cool in the tin for 5 minutes before transferring them to a wire rack to cool completely. Never, ever ice a warm cake.
- For the icing, place the sieved icing sugar in a bowl. Add 2 tablespoons of warm water and the food colouring, if using, and mix until you have a smooth, fairly thick paste. Add a little more water, drop by drop, if it is too stiff. It should be thick enough to coat the back of a spoon.
- When the cakes are completely cold, use a teaspoon to spoon the icing over the top of each cake, allowing it to drizzle down the sides a little. Add your sprinkles immediately, before the icing sets, then leave them to set fully before serving.
Delia's Notes from the Kitchen
The secret to the lightest fairy cakes is to have all your ingredients at room temperature, particularly the eggs and butter. This helps them emulsify properly, creating a smooth, uniform batter which is the foundation for a perfect bake. It's a small detail, but it makes all the difference.
How to Store & Reheat
Fairy cakes are best eaten on the day they are made. However, they will keep for 2-3 days in an airtight container stored in a cool, dry place. Do not store them in the refrigerator as this will dry out the sponge. Freezing is also an option: freeze the undecorated sponges in a rigid container for up to 1 month. Defrost at room temperature before icing.
Frequently Asked Questions
Why did my fairy cakes sink in the middle?
This is a common problem and usually has one of two causes. Either the mixture was over-beaten, incorporating too much air which then collapsed, or the oven door was opened too early, causing a sudden drop in temperature. Always wait until the cakes are well-risen and nearly set before checking on them.
Can I use plain flour instead of self-raising?
Yes, you can. For every 110g of plain flour, you will need to sieve in 1½ level teaspoons of baking powder. This will provide the necessary lift for the cakes.
What is the real difference between a fairy cake and a cupcake?
Traditionally, a fairy cake is smaller than a cupcake and is topped with a simple, thin layer of glacé (water) icing. A cupcake is typically larger and features a generous swirl of rich buttercream or cream cheese frosting.
How do I get the glacé icing to the right consistency?
The key is to add the liquid very slowly. Start with the sieved icing sugar in a bowl and add the water one tablespoon at a time, mixing thoroughly after each addition. It's much easier to thin a thick icing than to thicken a runny one. You are looking for a smooth paste that thickly coats the back of a spoon.
My butter is hard, can I still use it?
For the all-in-one method to work correctly, the butter must be very soft, at room temperature. If your butter is hard, it will not incorporate smoothly, and you will end up with little lumps in your batter. It is well worth waiting for it to soften properly.