How to Make Perfect Drop Scones
Learn how to make beautifully light and fluffy Drop Scones, a timeless British classic. My recipe ensures perfect results every single time, whether for a comforting breakfast or afternoon tea.
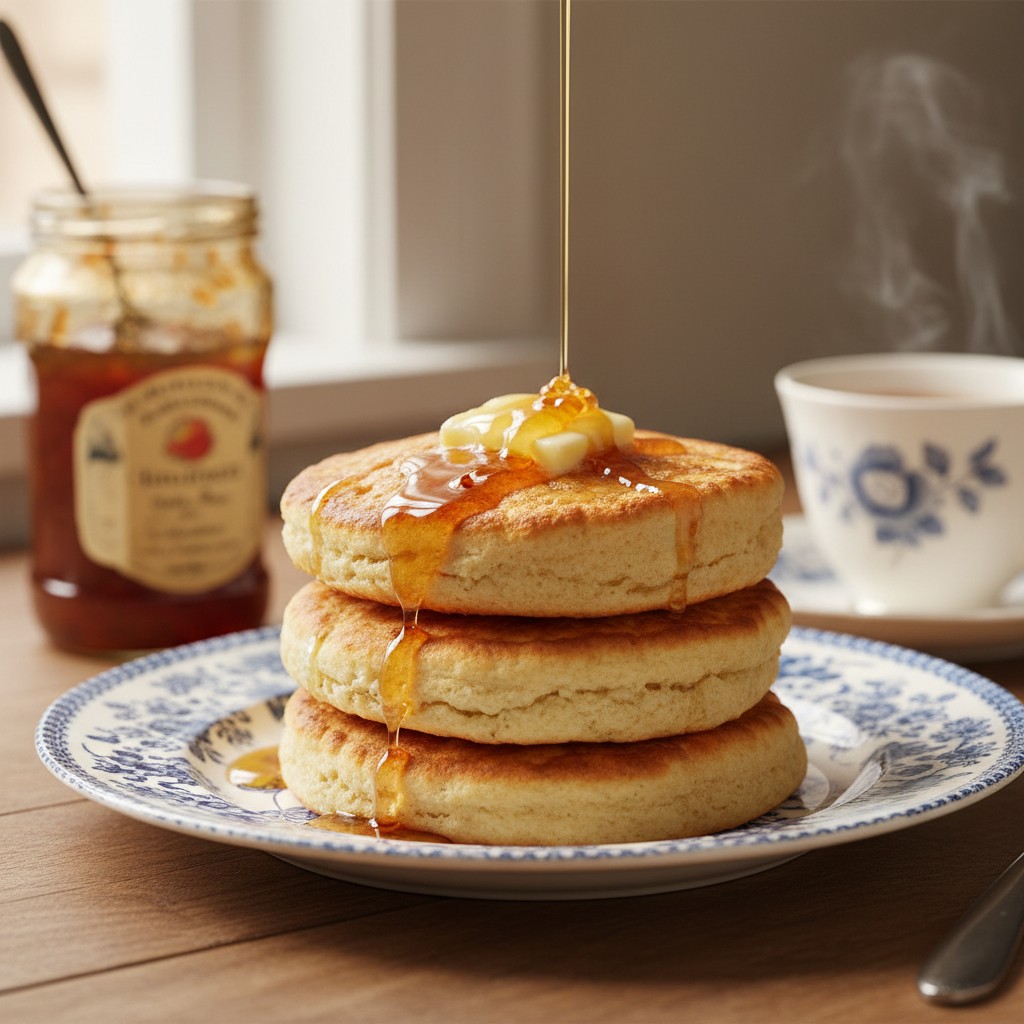
Mastering the Classic Delia Smith Drop Scones Recipe for a Perfect Afternoon Tea
There is something utterly comforting about a proper Delia Smith Drop Scones Recipe. These delightful little pancakes, also known as Scotch pancakes, are a cornerstone of British home baking. They are not quite a scone and not quite an American pancake, but sit in a happy, fluffy medium, perfect for a spontaneous breakfast or a more considered afternoon tea. They are simplicity itself, requiring only a handful of store-cupboard ingredients.
However, their simplicity can be deceptive. The difference between a leaden, flat drop scone and one that is ethereally light and springy comes down to technique. It’s about understanding what is happening in the bowl and in the pan, from the sifting of the flour to the crucial resting of the batter. There is no magic involved, just good, solid cooking sense.
In this recipe, I will guide you through each stage with precision. We will ensure the batter is the correct consistency – what I call a ‘dropping’ consistency – and that the pan is at the perfect temperature. Follow these instructions carefully, and you will be able to produce perfect drop scones with confidence, time and time again.
Why You'll Love This Recipe
- Sifting the flour incorporates air from the very beginning, which is the first step towards achieving a light and fluffy texture.
- Resting the batter for 30 minutes is non-negotiable. It allows the gluten in the flour to relax and the raising agents to start working, which guarantees a tender, not tough, result.
- Using a heavy-based, solid frying pan or griddle ensures even heat distribution, cooking the scones uniformly without burning the outside before the centre is cooked.
- Cooking the scones on a medium heat until bubbles appear on the surface and pop is the visual cue that the base is set and they are ready to be flipped just once.
Ingredients
- 175g self-raising flour
- A pinch of salt
- 40g caster sugar
- 1 large free-range egg
- 200ml milk
- A little sunflower or vegetable oil for greasing
Equipment Needed
Large mixing bowl · Sieve · Balloon whisk · Measuring jug · Heavy-based frying pan or griddle · Palette knife or fish slice · Kitchen paper
Step-by-Step Instructions
- First, sift the flour and salt into a large mixing bowl, holding the sieve high to give the flour a good airing. Then, stir in the caster sugar.
- Make a well in the centre of the dry ingredients. In a separate jug, whisk the egg and milk together until well combined.
- Pour about half of the milk and egg mixture into the well. Using a balloon whisk, start to incorporate the flour from the sides into the liquid in the centre. Work slowly and methodically to avoid lumps.
- Once you have a thick, smooth paste, gradually add the remaining milk mixture, whisking continuously until you have a smooth batter with the consistency of thick, double cream. It should drop easily from a spoon.
- Now, cover the bowl with a clean tea towel and leave the batter to rest in a cool place for 30 minutes. This step is crucial for a light texture.
- Place a heavy-based frying pan or a flat griddle over a medium heat. To test if it's ready, a tiny drop of water flicked onto the surface should sizzle and evaporate immediately.
- Lightly grease the pan with a little oil on a piece of kitchen paper. You want a faint sheen, not a pool of oil.
- Drop tablespoons of the batter onto the hot pan, leaving plenty of space between them as they will spread. I find three or four at a time is manageable.
- Cook for about 1-2 minutes, or until small bubbles appear on the surface and the edges look set. Do not be tempted to rush this.
- Using a palette knife or fish slice, flip the scones over and cook for another minute on the other side until golden brown.
- Remove the cooked drop scones to a plate and cover with a clean tea towel to keep them warm and soft while you cook the remaining batter, greasing the pan lightly between each batch.
- Serve immediately while warm.
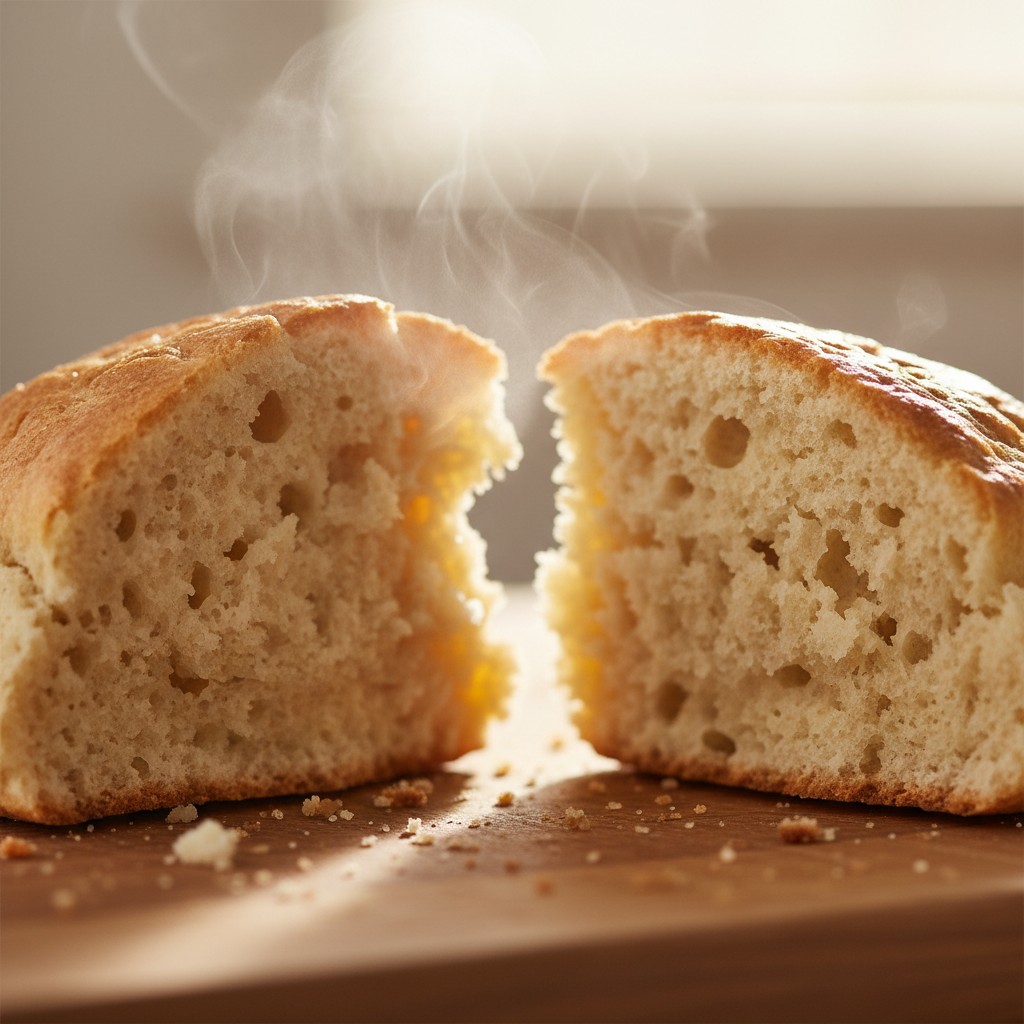
Delia's Notes from the Kitchen
The one secret to a truly excellent drop scone is patience. That 30-minute rest is when the magic happens. It isn't an optional step; it's fundamental to the final texture. Use that time to make a pot of tea and get your butter and jam ready. The reward will be the lightest, most tender drop scones imaginable.
How to Store & Reheat
Drop scones are best eaten on the day they are made. However, should you have any left over, they can be stored in an airtight container at room temperature for up to 2 days. To reheat, you can either pop them in a toaster on a low setting for a minute, or place them on a baking tray in a pre-heated oven at 160°C (140°C Fan) for about 3-4 minutes until warmed through. Avoid the microwave as it can make them tough.
Frequently Asked Questions
Why were my drop scones tough and rubbery?
This is almost always caused by one of two things: over-mixing the batter, which develops the gluten in the flour, or skipping the crucial 30-minute resting period. Be gentle when mixing and always let the batter rest.
Can I use plain flour instead of self-raising?
Yes, you can. For every 175g of plain flour, you will need to sift in 2 level teaspoons of baking powder to provide the necessary lift. Ensure it is mixed in thoroughly.
My batter seems too thick/thin. What should I do?
The consistency should be like thick cream, able to drop from a spoon. If it's too thick, add a tiny splash more milk. If it's too thin, which can happen with a very large egg, sift in an extra tablespoon of flour. Always make small adjustments.
How do I know the pan is at the right temperature?
The heat should be medium. Too hot and they'll burn before cooking inside; too cool and they won't rise properly. The 'water-flick' test is reliable: a drop of water should sizzle and dance before evaporating. The first scone is always a good test case.
Can I freeze drop scones?
Yes, they freeze very well. Once completely cool, stack them with a small piece of baking parchment between each one to prevent sticking. Place in a freezer bag and freeze for up to 1 month. Reheat from frozen in a toaster or a moderate oven.