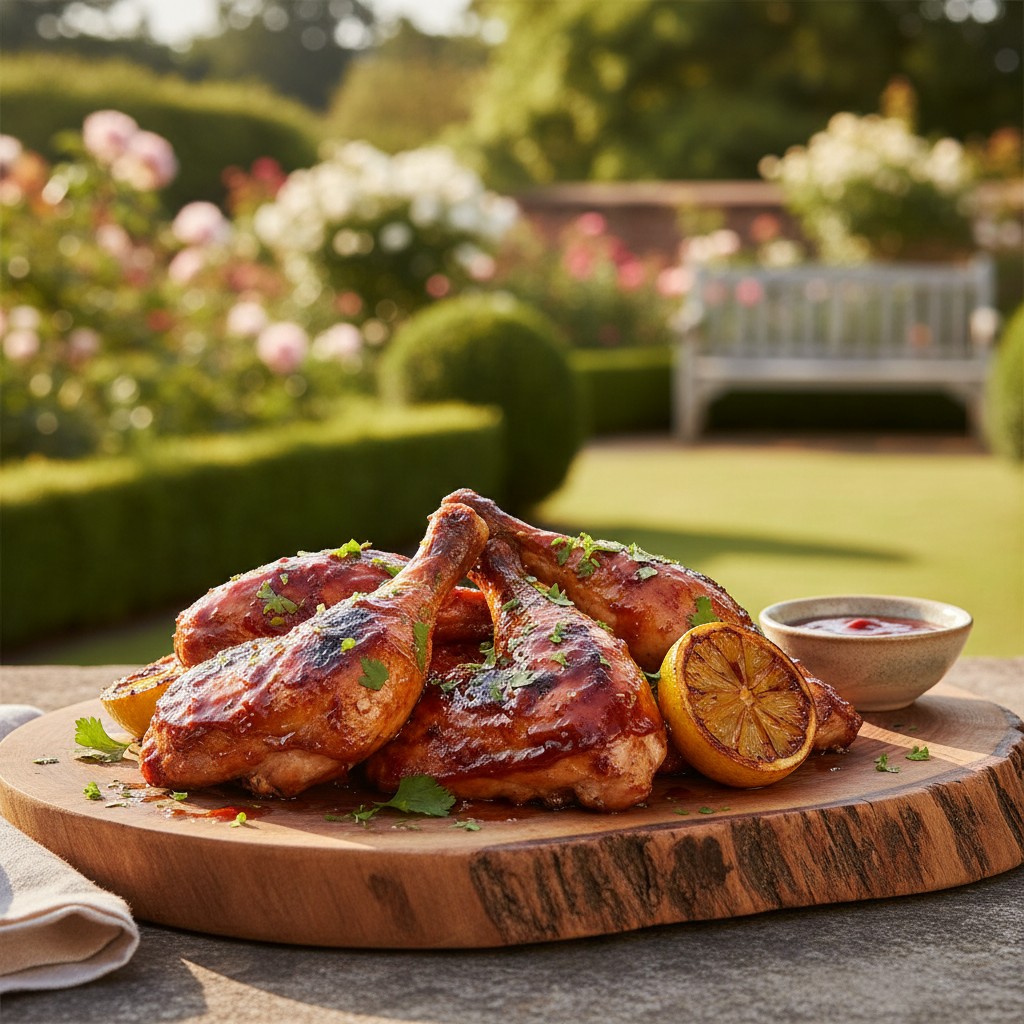
Proper Barbecue Chicken
There is a right way to barbecue chicken, and this is it. Forget burnt exteriors and undercooked insides; this method guarantees perfectly cooked, delicious results.
The very mention of barbecue chicken can, for some, conjure up rather unhappy memories of gatherings past: blackened, slightly acrid offerings on the outside, yet worryingly undercooked near the bone. It's a common culinary tragedy, but one that is entirely avoidable. The problem is that a barbecue is simply too fierce to cook chicken from raw; it requires a more gentle, considered approach to achieve that perfect state of juicy, tender meat and sticky, caramelised skin.
My method, which I have relied on for years, is a simple two-stage process. We begin the cooking in the controlled, even heat of the oven, ensuring the chicken is cooked through safely and thoroughly. Only then does it meet the barbecue, not for cooking, but for the glorious finishing touches – to absorb that lovely smoky flavour and to acquire its beautiful, glossy, sauce-lacquered coat. This removes all the guesswork and anxiety, leaving you free to enjoy yourself.
The sauce itself is, of course, terribly important. While there are countless bottles available, none can compare to the vibrant, balanced flavour of one you've simmered yourself. This recipe is a simple assembly of store-cupboard staples that come together to create a sauce that is the perfect harmony of sweet, sharp and savoury, with a gentle smoky warmth. It’s the final, crucial element that elevates this from a simple barbecue dish to something truly special.
Why You'll Love This Recipe
- The two-stage cooking method (oven first, then barbecue) guarantees perfectly cooked, moist, and safe-to-eat chicken without any guesswork.
- Par-cooking the chicken in the oven renders some of the fat, preventing dangerous flare-ups on the barbecue and ensuring a crisp, not greasy, skin.
- The homemade sauce is made with simple, accessible ingredients and provides a far superior flavour to anything from a bottle, with a perfect balance of sweet and tangy notes.
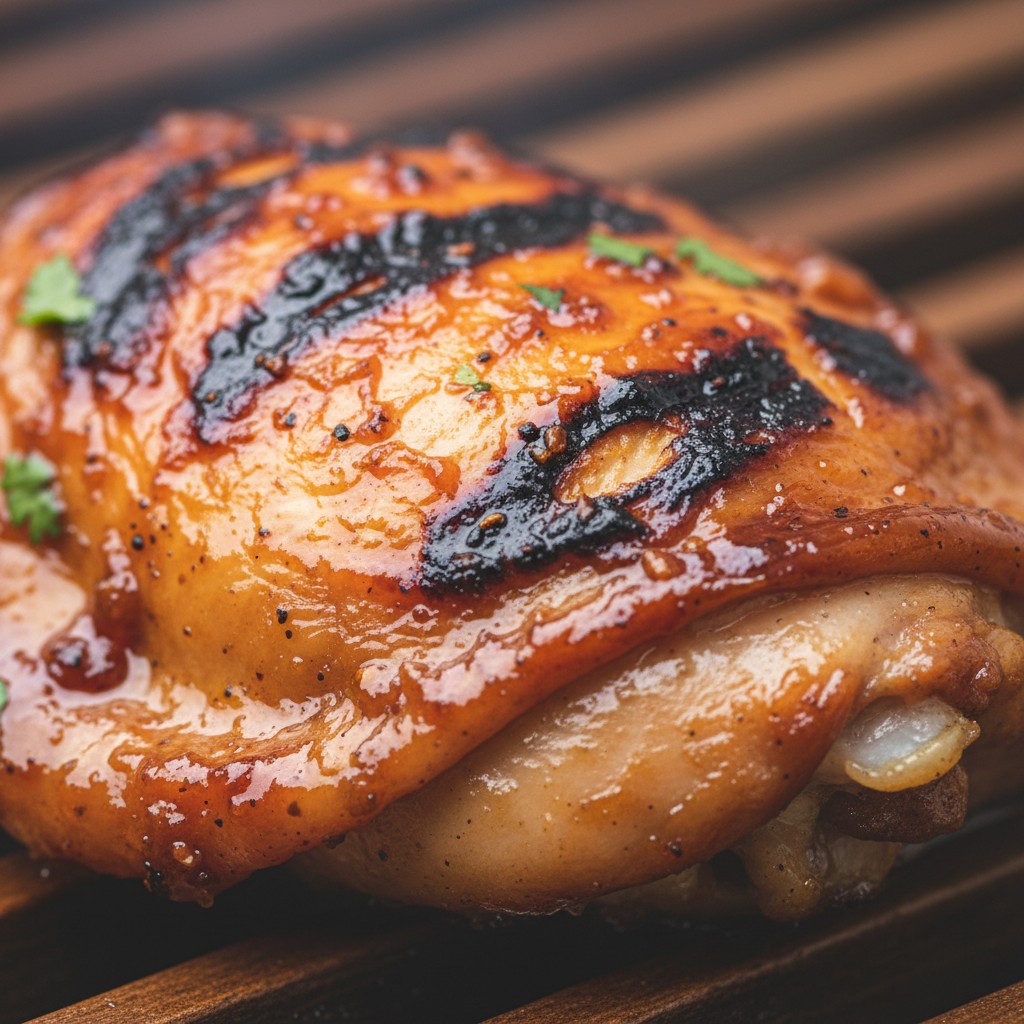
- Finishing on the grill allows the sauce to caramelise without burning, creating a sticky, flavourful glaze that clings to the chicken.
Ingredients
- 8 bone-in, skin-on chicken pieces (thighs and drumsticks work best), about 1.2kg total
- 1 tablespoon olive oil
- Salt and freshly milled black pepper
- For the Barbecue Sauce:
- 150ml tomato ketchup
- 2 tablespoons dark muscovado sugar
- 2 tablespoons cider vinegar
- 1 tablespoon Worcestershire sauce
- 1 teaspoon English mustard powder
- 1 teaspoon smoked paprika
- 2 cloves of garlic, crushed
Equipment Needed
Large roasting tin · Small heavy-based saucepan · Pastry brush · Barbecue (charcoal or gas) · Tongs · Measuring spoons and jug
Step-by-Step Instructions
- First, make the sauce. Combine all the sauce ingredients in a small, heavy-based saucepan. Place it over a medium-low heat and stir until the sugar has completely dissolved.
- Bring the sauce to a gentle simmer and let it bubble away for 5-7 minutes, stirring occasionally, until it has thickened slightly and the flavours have melded. Set it aside to cool.
- Pre-heat your oven to 200°C (180°C Fan, Gas Mark 6).
- Arrange the chicken pieces in a single layer in a large roasting tin. Drizzle with the olive oil and season generously with salt and freshly milled black pepper. Use your hands to ensure each piece is lightly coated.
- Roast the chicken in the pre-heated oven for 30-35 minutes. The chicken should be almost cooked through – the juices will run pale gold when a skewer is inserted into the thickest part.
- While the chicken is roasting, light your barbecue and wait for the coals to turn grey and ashen, or preheat your gas grill to a medium heat.
- Remove the chicken from the oven. Using tongs, transfer the pieces to the barbecue. Brush them generously on all sides with the prepared barbecue sauce.
- Grill the chicken for 10-15 minutes, turning frequently and basting with more sauce each time you turn. You are looking for a deep, caramelised, sticky glaze. Watch it like a hawk at this stage, as the sugar in the sauce can burn easily.
- Once beautifully glazed and piping hot, remove the chicken from the barbecue and let it rest for a few minutes before serving.
Delia's Notes from the Kitchen
The real secret here is patience and control. Don't be tempted to rush the oven stage, as this is what ensures the chicken is succulent and safe. When it comes to the barbecue, think of it as a finishing tool, not a primary heat source. A medium heat and constant turning is what creates that lovely sticky, caramelised glaze without a hint of bitterness from burning the sauce.
How to Store & Reheat
Store any leftover chicken in an airtight container in the refrigerator for up to 3 days. The sauce can be made up to a week in advance and kept in a sealed jar in the fridge. To reheat the chicken, it's best to place it on a baking tray, cover loosely with foil, and warm it through in a moderate oven (160°C) for 15-20 minutes until piping hot. Avoid the microwave, as it can make the skin rubbery.
Frequently Asked Questions
Can I cook this entirely in the oven if the weather is bad?
Absolutely. Simply follow the recipe up to step 5. After the initial 30-35 minutes of roasting, drain any excess fat from the tin, brush the chicken generously with the sauce, and return it to the oven for a final 10-15 minutes. You may wish to turn the heat up to 220°C (200°C Fan) for the last 5 minutes to get a lovely caramelised finish.
Why is it so important to par-cook the chicken first?
There are two main reasons. Firstly, safety: it guarantees the chicken is cooked all the way to the bone, eliminating any risk of serving raw poultry. Secondly, quality: it prevents the outside from burning on the fierce heat of the barbecue before the inside has had a chance to cook, resulting in succulent meat and perfectly glazed skin.
Can I make the barbecue sauce in advance?
Yes, and I would encourage it. The sauce can be made up to a week ahead of time and stored in a clean, airtight jar in the refrigerator. The flavours will actually develop and deepen over a day or two.
What are the best cuts of chicken for this recipe?
Bone-in, skin-on pieces such as thighs and drumsticks are definitely the best choice. The bone helps to keep the meat moist and flavourful during cooking, and the skin becomes wonderfully crisp and acts as a perfect vehicle for the sticky sauce.
How do I know for certain that the chicken is cooked through?
The most reliable way is to insert a skewer or the tip of a sharp knife into the thickest part of the largest piece of chicken. The juices that run out should be completely clear with no trace of pink. If you own a meat thermometer, the internal temperature should read at least 75°C.